My wife and I are not William and Kate, but it still seemed reasonable to have our own commemorative stamp to celebrate our first wedding anniversary. So I decided to do something about it.
The Sarah & Kevin’s Wedding stamp will be issued on September 19, our anniversary. This is probably a limited interest stamp, but if you’d like a copy for your collection, please read the press release for instructions on how to request one.
The American Civil War was one of the darkest and most bloody chapters in our nation’s history. Hundreds of thousands of soldiers died in the fighting that began 150 years ago this past April.
Much of the surviving mail that was sent during the Civil War paints a vivid picture of what life was like during those tumultuous years. An envelope often has a story to tell even if the letter it carried is no longer around. That is certainly the case with my Camp Douglas POW cover.
Camp Douglas POW Cover
There’s a bit of a story behind me even owning this piece. A friend of mine worked at a folk life museum/archive, and although the people there had no interest in old envelopes—they wanted only the letters inside—someone fortunately had the good sense to not throw old envelopes away, but rather store them in a box. I had the opportunity to purchase this several years ago, and the rest, as they say, is history.
I hope you enjoy the accompanying writeup about this cover. If you have any POW covers in your own collection and you’d like to share an image with other readers, please let me know.
Making your own local post stamps is a lot of fun. But how do you get started? How do you turn your idea for a “stamp” into a finished product that you can stick on an envelope and mail to a friend?
Today we’ll take a look at the process of creating a local post stamp from start to finish, including how to design your stamp using a graphics editing program on your computer. This is more or less the process I use to design stamps for Philosateleian Post, my private local post.
Before we begin, I want to thank reader Karl F. for suggesting this topic. Now, let’s get started.
In this tutorial, we’re going to take a look at how to design a local post stamp using Paint.NET. Paint.NET is not the same Paint program that is included with Microsoft Windows, but it is free, so if the program is not already installed on your computer, I recommend you download it now.
Note that Paint.NET is designed for use on Microsoft Windows; you’ll need to find an alternative if you’re using a Mac or Linux, and the exact instructions provided here may not apply.
Also, there’s no requirement that you use Paint.NET even if you are using Windows. If you’re more comfortable using Adobe Photoshop, GIMP, or another graphics program, that’s okay. (I do not recommend the Paint program that’s included with Windows because of how basic it is.) Just note that the screenshots and directions in this tutorial will apply to Paint.NET specifically, so if you’re using a different program you may have to figure some things out on the fly.
A picture
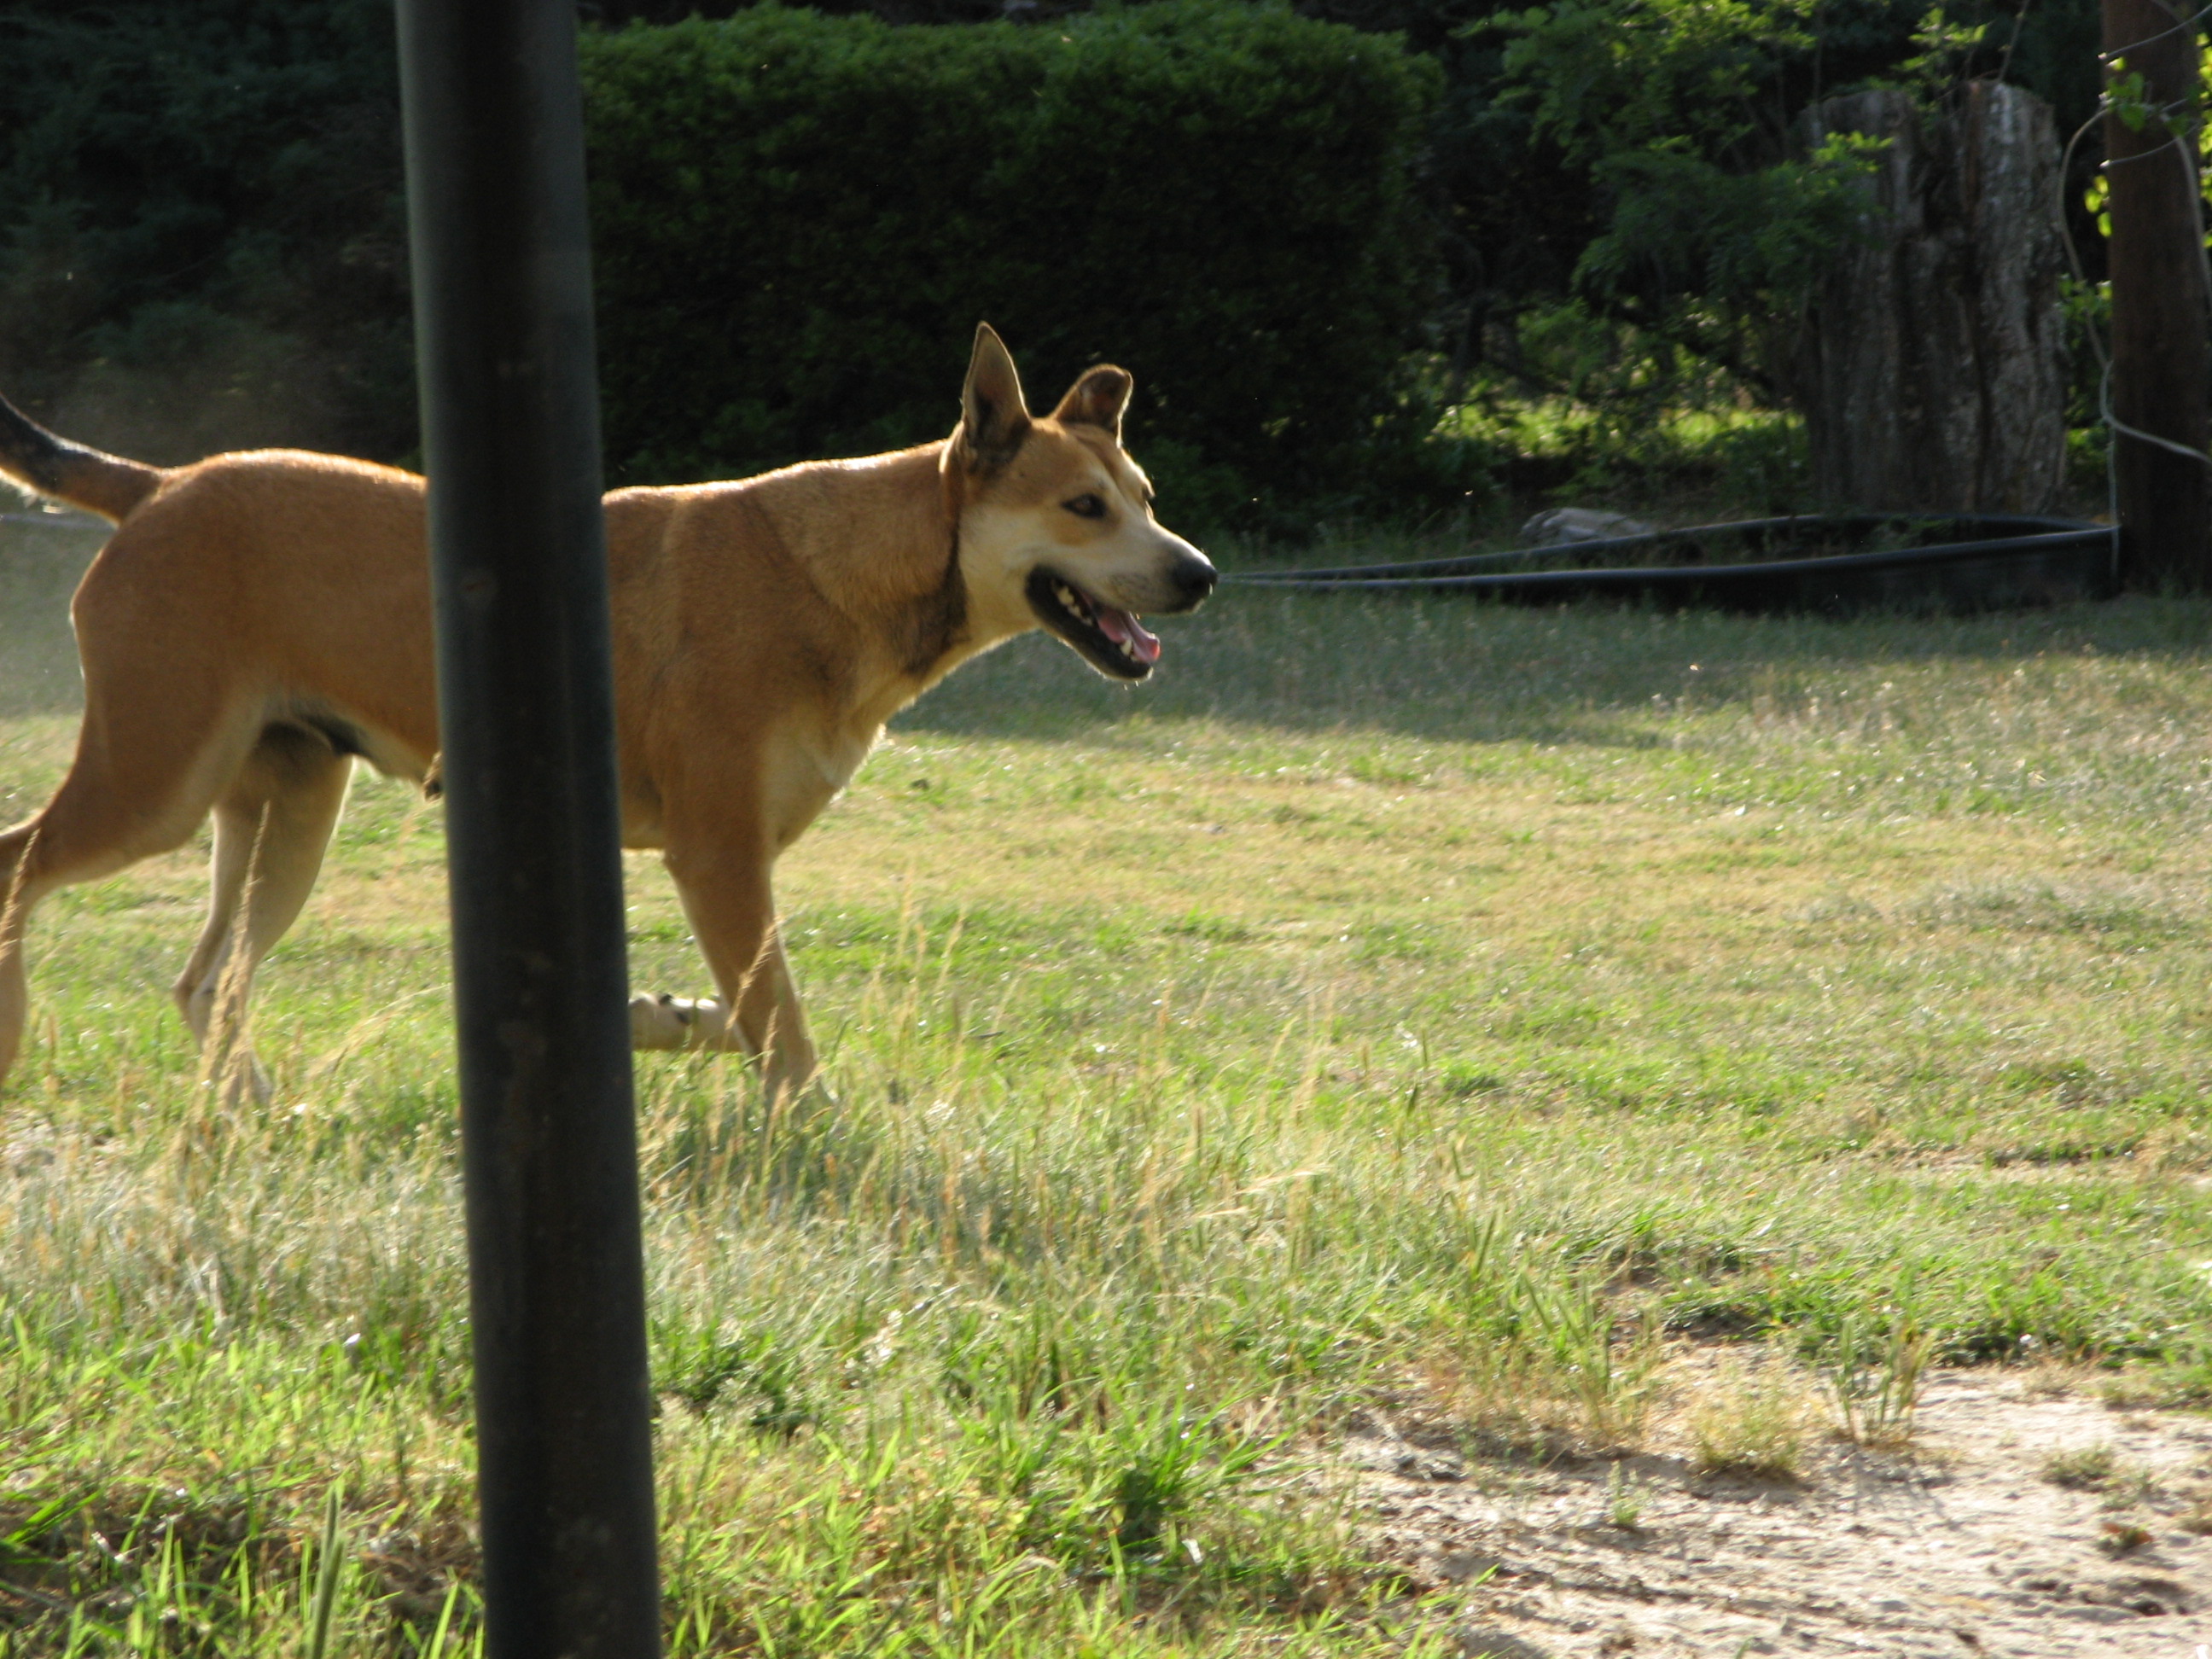
What do you want to commemorate on your local post stamp? A family member? A local landmark? You’ll need an image with which you can work, whether it’s a photo or a design you’ve drawn by hand, scanned, and saved to your computer’s hard drive. (You can save this photo of a dog to your hard drive if you want a picture to experiment with.)
Keep in mind that you shouldn’t use an image that belongs to someone else. Is your favorite major league baseball team or movie star going to know you sent a “stamp” with their logo or photo on it to a friend? Probably not. If you start hawking the things on eBay, though, you could end up in legal trouble.
Technically, a stamp doesn’t have to have a picture on it—Uganda’s first stamps, for example, were produced with a typewriter—but most stamps do.
A printer
You have to have some way of printing your masterpiece when it’s done.
Designing your stamp
Okay, you’ve installed Paint.NET (if necessary) and picked an image to use, so we’re ready to begin. Start Paint.NET and we’ll get going!
Adding a picture
By default, Paint.NET opens with a blank white picture. Press Control + W to close this.
Next, press Control + N. In the new window that appears, change the resolution to 300 pixels/inch. (Using the default resolution of 96 pixels/inch can cause your stamp to look blurry when you print it.) In the “print size” section, enter the size you want your stamp to be. Modern horizontal U.S. commemoratives measure approximately 1.57×0.98 inches (a width-to-height ratio of about 8:5), but you can make your stamp as large or small as you want it. Click OK.
New Image Dialog Box in Paint.NET
In the status bar at the bottom of the window, you should see numbers representing the width and height of your stamp in pixels. Make a note of these numbers.
Location of Image Dimensions in Paint.NET
Now, open the photo you’re going to use as your stamps design. To do this, press Control + O, then find your file, select it, and click Open.
You can use the Rectangle Select tool to select the area of the photo you want to use on your stamp, then press Control + Shift + X to crop the image.
Tools Toolbar in Paint.NET
Because your photo is probably wider and taller in pixels than your stamp, you need to resize it. Press Control + R, and enter the new width and height for the image, then click OK. If your stamp, like mine, is 471×294 pixels, you want to make sure neither the width nor the height to which you resize your photo is less than that. It’s okay if either the width or the height is greater; we can crop off what we don’t need in the next step.
If the width of your image is greater than the width of your stamp, or if the height is greater, use the Rectangle Select tool to trim off the excess pixels. You can see how many pixels you have selected with the tool by looking at the status bar while still holding down the left mouse button.
Location of Selection Dimensions in Paint.NET
Once you’ve made your selection, press Control + Shift + X again to crop the image.
Next, press Control + Shift + A, to select the entire photo, then press Control + C to copy it. Switch back to your stamp by clicking its thumbnail in the upper right corner of the window.
Press Control + V to paste your photo onto the stamp. Good job! The tricky part is done.
Adding text
Now let’s add the name of your local post to the stamp. It’s easiest to this by creating layers so that if we make a typo, we can correct just the text part of the image instead of having to start over.
To create a new layer, press the + button in the layers box in Paint.NET.
Layers Toolbar in Paint.NET
Next, click the Text tool button. Choose your font, font size, and font style from the toolbar at the top of the window, and choose the color for your text from the color picker window.
Location of Text and Color Tools in Paint.NET
If you don’t like the text color you chose when it’s on top of your picture, go ahead and choose a different color.
(Note: except for changing font information or text color, clicking anywhere but on your stamp can deactivate the text tool. If this happens, make sure the text layer is selected in the layers box, then press Control + A, then press Delete and restart the text entry phase.)
After you’ve typed your local post’s name, press Control + A, then click the Move Selected Pixels button and drag the text to where you want it on your stamp.
Tools Toolbar in Paint.NET
For each individual bit of text you want to add—the stamp’s value, for example, or a caption describing the subject—add a new layer. You’ll be able to move the individual bits of text around separately until you get everything just like you want it.
Preparing your stamp for printing
After you’ve finalized your design, press Control + Shift + R. Make sure Anchor is set to “Middle”. Add about 0.2 inches to both the print width and height, and click OK. This step adds a bit of “white space” around the stamp so you have room for perforations later on.
Canvas Size Dialog Box in Paint.NET
Press Control + M repeatedly until only one layer is left in the layers box.
Layers Toolbar in Paint.NET
Press Control + A, then press Control + C to copy your stamp image.
Press Control + Shift + R again and set Anchor to “Top Left.” Under Print size, triple the values in the width and height boxes. Click OK. This step changes the canvas size so that you have room for more stamps!
Press Control + V, then drag the stamp you just pasted to a blank area of the canvas. Repeat this step until you have nine stamps.
Completed Image in Paint.NET
(Note: when resizing the canvas, you can make it large enough to hold as many stamps as you want. Just keep in mind that the printable area of an 8½×11 inch sheet of paper is around 7½×10 inches, or 10×7½ inches if printed in landscape mode.)
Save your image, then close Paint.NET.
Printing and “perforating” your stamp
Print
Open the Paint program that comes preinstalled on Windows. (It’s probably on the Start menu under All Programs > Accessories.) Open the image you saved earlier.
Press Control + P to bring up the print dialog box, then click OK. Your sheet of stamps should print. Congratulations!
Perforate
There are many options for separating your stamps. The simplest approach is to leave them imperforate, and separate them by cutting or tearing. That’s how the world’s first postage stamps were issued, and it gives them a rustic feel.
Another option is to use a paper cutter. This is what I currently use for Philosateleian Post stamps. This particular handheld model is made by Recollections; I purchased it at a Michael’s craft store.
Recollections Paper Cutter
To give your stamps a real-life perforated appearance, you can a) perforate them by setting them on top of a block of styrofoam and using a thumbtack to punch holes; b) take your chances with a sewing machine (if you own one); or c) have them perforated with a genuine perforator. If you’re really lucky, you own such a machine yourself; if not, operations like The Olathe Post can perforate the stamps for you.
Having someone else perforate your stamps for you can be expensive, as they have to configure their equipment to fit your stamp size. They may sell pre-perforated paper, but in that case you’ll have to design your stamps to be sure they fit. That’s outside the scope of this tutorial.
My personal preference is to keep the entire production in-house (and inexpensive), which is why I’ve gone with the rouletting wheel.
Summary
Making your own local post stamps takes time and patience, but it’s also a lot of fun. Give it a try, and use your creations on your outgoing mail.
Finally, you might want to consider joining the Local Post Collectors Society. I’m a member. The annual dues are quite reasonable, and the LPCS’s bimonthly publication, The Poster, will give you a glimpse of the stamps other local post operators are creating.


